NOTICE: Revel has moved! http://github.com/revel/revel
This article runs through the quick exercise of implementing the “Hello World” application from the Play! example.
Let’s start with the myapp project that we created previously.
Edit the app/views/App/Index.html template to add this form, under the
included flash.html template:
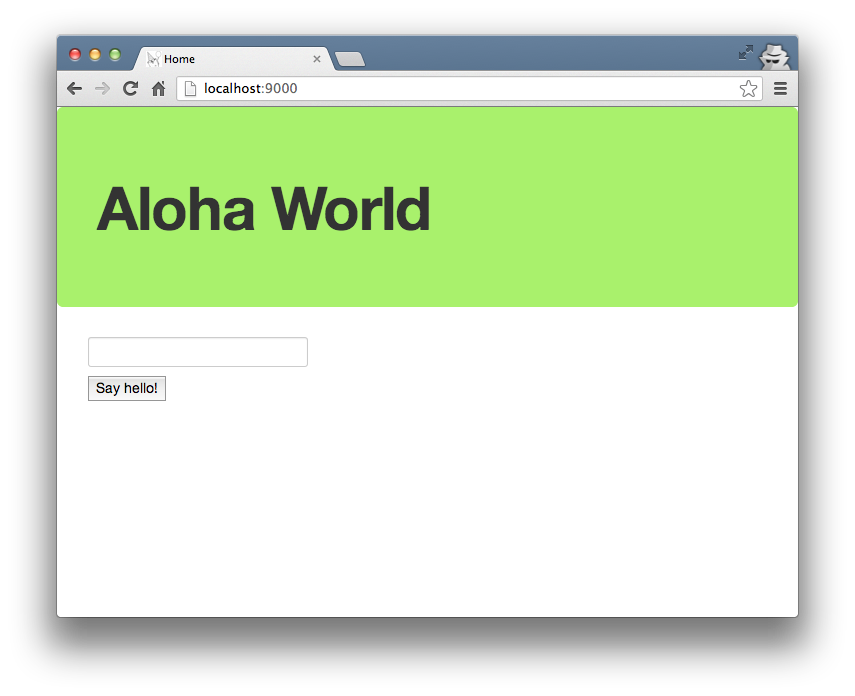
<form action="/App/Hello" method="GET">
    <input type="text" name="myName" /><br/>
    <input type="submit" value="Say hello!" />
</form>
Refresh the page to see our work.
Let’s try submitting that form.
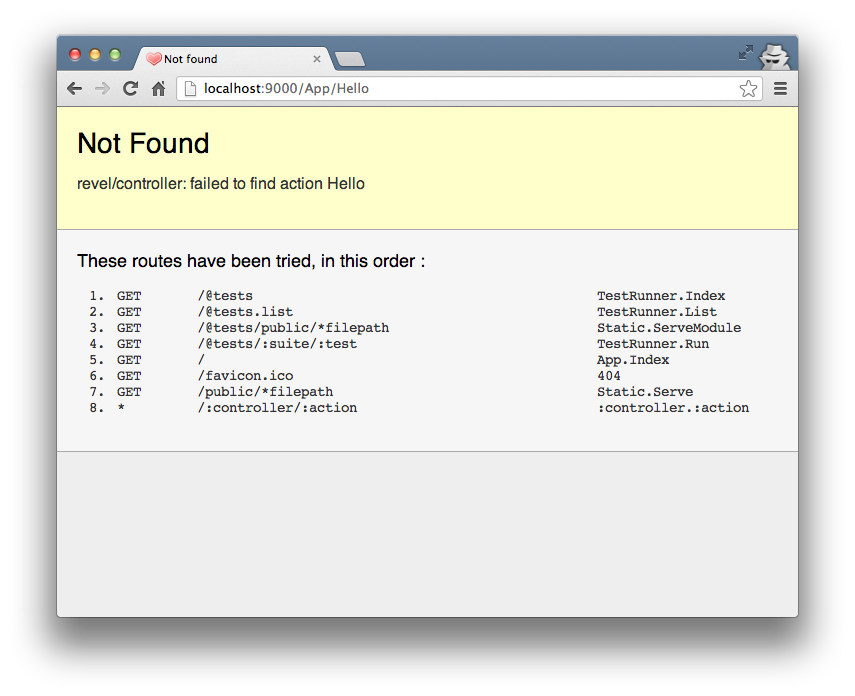
That makes sense. Add the action to app/controllers/app.go:
func (c App) Hello(myName string) revel.Result {
	return c.Render(myName)
}
Next, we have to create the view. Create a file app/views/App/Hello.html, with this content:
{{set . "title" "Home"}}
{{template "header.html" .}}

<h1>Hello {{.myName}}</h1>
<a href="/">Back to form</a>

{{template "footer.html" .}}
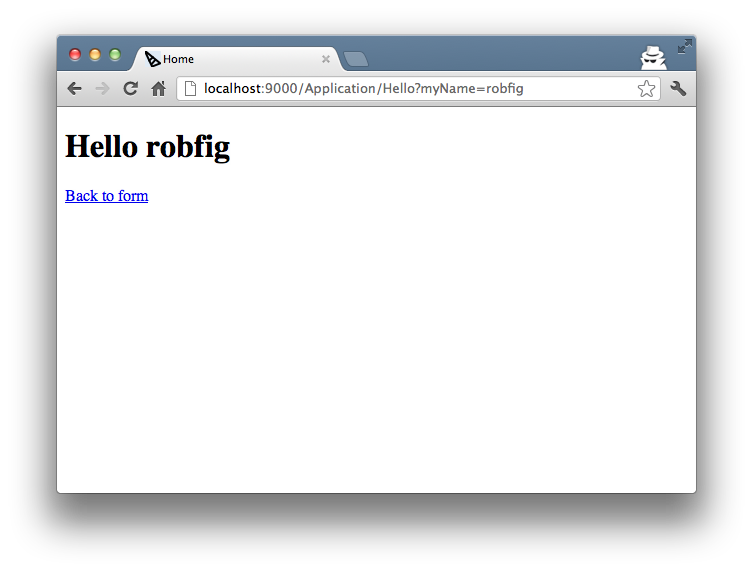
Refresh the page, and you should see a greeting:
Lastly, let’s add some validation. The name should be required, and at least three characters.
To do this, let’s use the validation module. Edit your action in app/controllers/app.go:
func (c App) Hello(myName string) revel.Result {
	c.Validation.Required(myName).Message("Your name is required!")
	c.Validation.MinSize(myName, 3).Message("Your name is not long enough!")

	if c.Validation.HasErrors() {
		c.Validation.Keep()
		c.FlashParams()
		return c.Redirect(App.Index)
	}

	return c.Render(myName)
}
Now it will send the user back to Index() if they have not entered a valid
name. Their name and the validation error are kept in the
Flash, which is a temporary cookie.
The provided flash.html template will show any errors or flash messages:
{{if .flash.success}}
<div class="alert alert-success">
	{{.flash.success}}
</div>
{{end}}

{{if or .errors .flash.error}}
<div class="alert alert-error">
	{{if .flash.error}}
		{{.flash.error}}
	{{end}}
	{{if .errors}}
	<ul style="margin-top:10px;">
		{{range .errors}}
			<li>{{.}}</li>
		{{end}}
	</ul>
	{{end}}
</div>
{{end}}
When we submit that form with a name that fails validation, we want the form to retain the bad name, so that the user can edit it before re-submitting. Amend the form you had added to your app/views/App/Index.html template:
<form action="/App/Hello" method="GET">

		<input type="text" name="" value=""/><br/>

	<input type="submit" value="Say hello!" />
</form>
Now when we submit a single letter as our name:
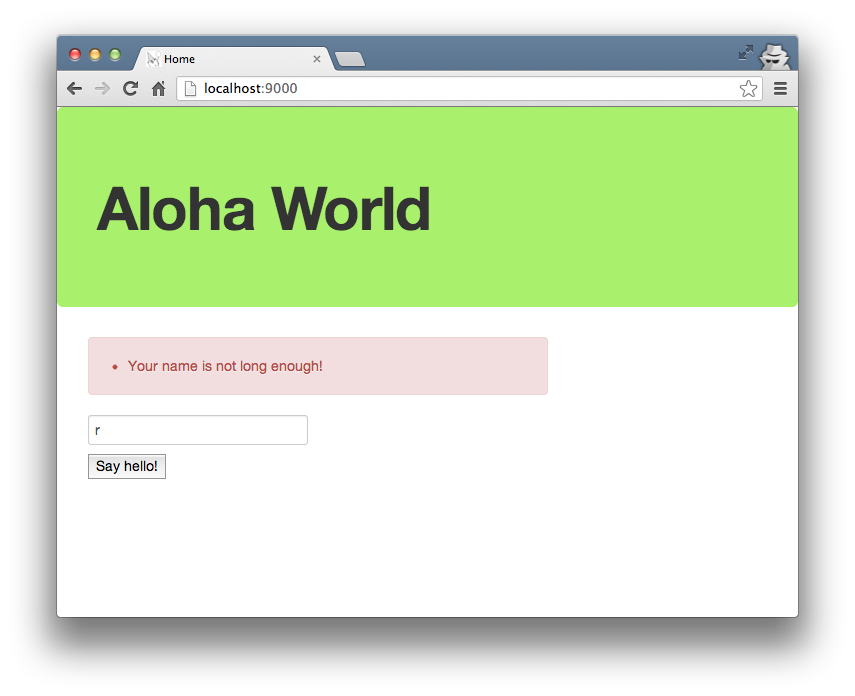
Success, we got an appropriate error and our input was saved for us to edit.